Gelcoat Blisters... part 2
Once set up, I took a High Speed Grinder with 40 grit disc to "Seriously Remove the old/failed Gel coat".
Having spent many years doing 'body work, custom paint and custom car fabrication', I can handle this without much trouble other than this work is 'physically hard'. I was a professional and 'very' good then, now I'm just good enough..... but better than I can hire. 'Nuff said!
. For those of you that don't want to try this, Fine!...but it is still GOOD for you to "KNOW" HOW IT IS DONE...or should be done..........................
Ground off ALL of the damaged areas around the water line.
Then, sand with 80 grit to smooth out all rough edges.
Anything that looks white or clear is "original UNSATURATED fiberglass strands in the Mat" (NO RESIN) I removed those many, many spots in the Mat with a quick scuff with a Rotary Rasp on a drill. It is quick work. but leaves you with GOOD material ready to accept a few coats of Clear Epoxy resin as the next barrier coat.
 Now, to go further, When you get this far, make sure to add a barrier coat. We gave this naked area 4 coats of West System resin.
4 coats of clear resin to seal up old fiberglass.
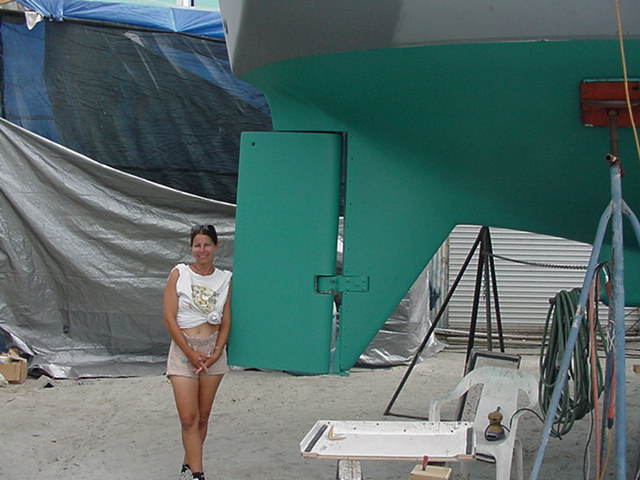
Dorothy keeps up with keeping me stocked with materials and cleaning things between stages. Often SHE is working much harder than I.
Once applied, the West 407 Fairing Compound needs to be sanded, clear coated for a barrier, then the Registration Marks from the Blue Tape Markings need to be dropped to remark the Bottom of the Boot Stripe.
On the Post "Gelcoat Blisters, Part 1", this shot showed plenty of blisters. Not Now!
Tape and sand for preparation of Boot Stripe Paint.


No comments:
Post a Comment