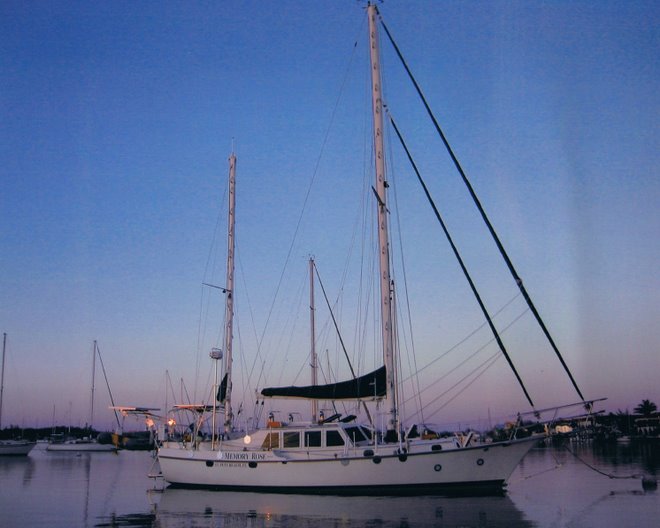
When I bought my 1978 CSY in 1991, there were signs of 'tiny' blisters starting in the gelcoat under the bottom paint. The boat was only 13 years old, kept up north and hauled out every winter...minumum "water time".
The surveyor said, (and I paid for the best, not the cheapest) "When the gelcoat fails and then presents tiny cracks in your bottom paint, you have a system failure". I understood clearly and 3 years later, when I hauled the boat for the first time since survey, I had done my research, bought all material and hired the newest technology available to "peel" the gelcoat completely off, below the waterline.
Move now to 2010. We have been cruising for 5 years in warm Caribbean waters fully loaded. Our waterline has raised, due to our " world cruise" inventory aboard. In 2001, I raised the waterline a tad and corrected it for our set in the water. In 2004, I raised our waterline thru hulls 5" to get them above water. Now new tiny blisters are showing up in the few inches of the lower topsides that never had the peel job or underwater Barrier Coating system applied.

What this has caused is the Old/Original?OEM Gelcoat above the wateline to have sat underwater or in anchoring wavelets, for a few years. This area of old gelcoat normally above water, has failed to some degree and now shows small blisters just under and into our Boot Stripe along the Waterline.
The first thing I did was measure UP from the Bottom of the bootstripe 6" and mark that line on a piece of Blue Tape. It's a 'registration mark'. Later, when I'm done grinding and fairing, I can measure Down 6" to find the line I need to replace the Boot Stripes Bottom line.
I saw this coming and prepped by hauling the boat out at Shelter Bay Marina in Panama in early May, 2010. This has allowed the boat to dry out as best it could in a 6-7 month rainy season. At least the bottom did not get overwhelmed with water
'pressure'.
Now dry, I havescraped and sanded off
years of bottom paint that seemed soft, and ground off the gelcoat along the waterline. I will now
fair this out with West Epoxy and their 407 lite fairing compound and West System Resins. Also, will overcoat all work done with 4 coats of this Epoxy resin as a Barrier Coat.
To satisfy the 'yard', I fabricated a Scoop device to capture some of the dust coming off the grinder. Used a Dust Pan, 1 gal. shop vacuum, some plastic, twigs and tape to build it. Worked fair to good, when I was able to 'direct the dust towards the scoop. I 'ground' and Dorothy held the scoop close to the hull right near the grinder. One hour each side and we were done with this part!
The price for materials down here is high. Getting it in from the US is steep too! 3 Cansisters of West 407 powder,($38 ea.)weighing about 5 lbs. total including shipping box comes out to $50. or $176 total. Really helps if you can bring it with you on the boat or plane.
Close up/Before! You can see the blisters above the old and still good barrier coat job of 1994; and up into the 'raised' Boot Stripe of 2004. This blistered area is 'original gel coat".
Weather has cleared somewhat but cloudy and sprinkles starting again.... Fingers crossed!
10 Jan. Update: for 2 days-----torrential downpours..........slow working or none at all. Rain has been a constant bummer since we got here on Dec. 23rd.
Very Close Up....! Here you can see that our boat had something unusual going on during manufacture! The Dark green gel coat next to the fiberglass mat was the last gel coat sprayed into our hull AFTER several coats of the Cream Color was sprayed into the hull's mold. THIS is where our blistering problem started, between gel coats of the different colors. Will never know sure, but this additional coat of Green between the Cream and the first layers of mat and resin, seems to be an stupid error in production. Forensics and minor surgery required 32 years later.....................
Cream Gelcoat was definitely failed or failing while forced underwater. And....yes, not many owners would document this for the public. I feel the CSY's following this blog or other boats with this common problem should know what is happening.
I show what I have found to be 'wrong' and what I have done to make it right as I trust this kind of information will help others sooner or later.
Chicken Salad and a few beers after showers, made things 'right' again!


 Now, to go further, When you get this far, make sure to add a barrier coat. We gave this naked area 4 coats of West System resin.


 Posts
Posts