Showing posts with label Chain Plates. Show all posts

Wednesday, June 15, 2016

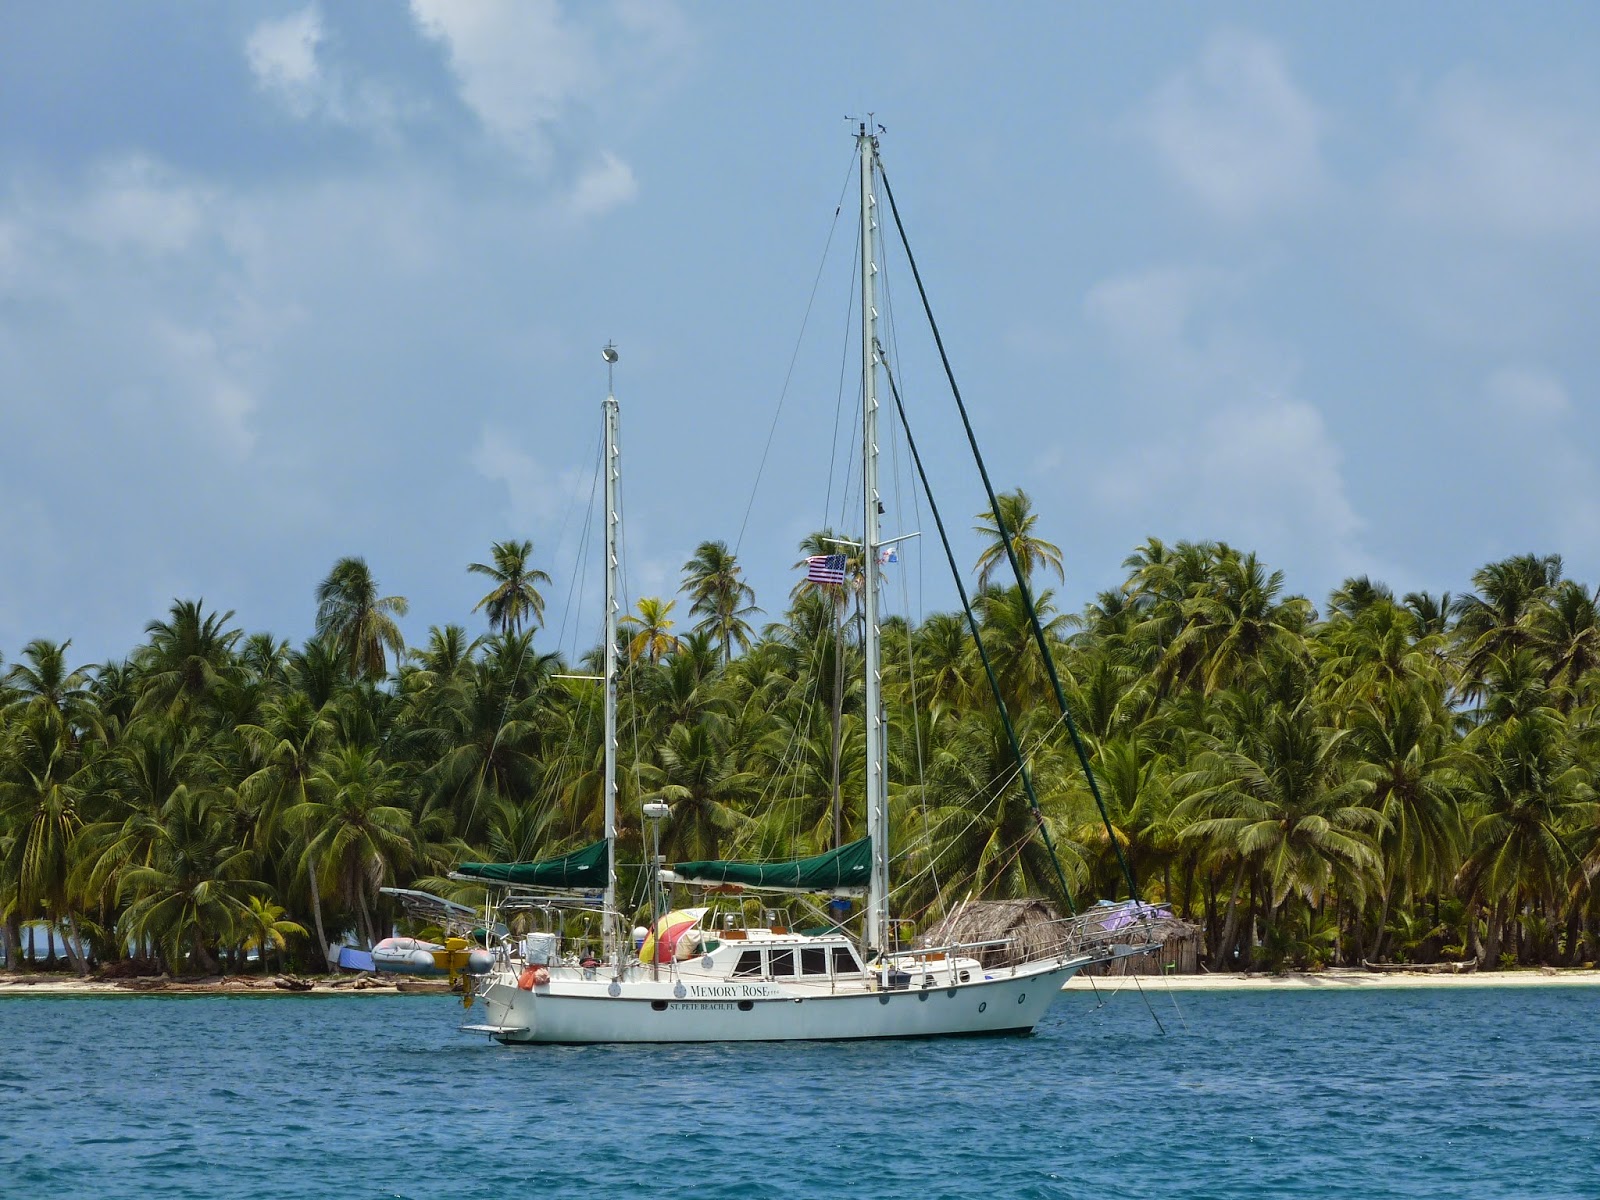
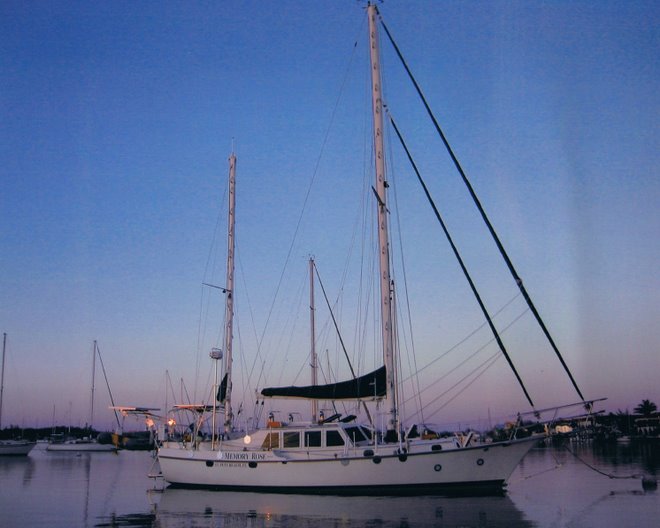
MEMORY ROSE IS THE 'FEATURED BOAT' IN CRUISING OUTPOST MAGAZINE

                                          Anchored in Chicheme, in the San Blas Islands, Panama


Yes, the quarterly magazine Cruising Outpost by Bob Bitchin  (you remember him from Latitudes and Attitudes magazine) placed Memory Rose as their 'Featured Boat' Spring 2015 edition.

The magazine comes out quarterly, so Memory Rose is 1 of only 4 boats who will get that prize this year!  Quite an honor!  Thanks Bob!!


Tuesday, August 21, 2012

Chain Plate info for the CSY Owners Forum

Hello gang,
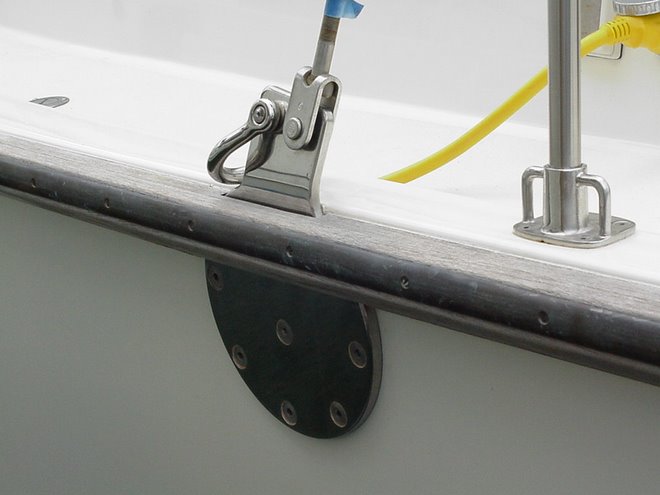
 Saw some discussion on the Round Chain Plate design I had come up with in the latter 90's.  My design, was a take off of a design by Tillerson Pearson and Steve Dashew for the manufacture of 54'-62' Deerfoot Yachts. You can see their design (round but 10 bolts) in the Dashew's Cruising Encyclopedia page 582. For manufacturing it made a lot of sense, as you could make All chain plates the same and just rotate the tang in the direction needed.  Installation was easy, just drill and insert the center bolt first, the rotate the tang in the direction of the rigging wire, or attach it.  Drill the remaining holes, insert bolts and so on. Easy.  CSY used 3/8" tang material (304 SS) welded to a 1/4" triangular backing plate, with 6 bolts.  I used solid 1/2" (316 grade SS)  with no welds and 8  "Counter Sunk" socket head bolts also made from 316 grade stainless steel.  Dashew's plates used 3 hole tangs, so were quite wide. This also gives immense strength to the tang, due to the added width.
I made all my tangs 4" wide with double holes. One for the rigging and the other hole for the attachment of a shackle if I wished, so as to be able to take a lead somewhere else in odd or emergency situations.  Plates were cut on a CNC machine, but later ones were made at a local machine shop without the aid of a CNC machine for other owners and looked perfect. Note, countersinking the heads, offers crevice corrosion protection.  Many Hex Head bolts used on CSY's failed.  Heads would snap off because water/moisture gains access under the head and over time, crevice corrosion causes the stainless to fail.
Here's a few photos below, taken in 2000/2001.
 Note, back in the day, I payed about $300/Plate for material, cutting, final polishing(I did the initial polishing with grits up to 600 grit).  the bolts alone back then were $9.69 each, plus Aircraft 316 Nylock nuts and 1/2" large flat washers for the interior.  I ordered 100 as my Pilothouse was a ketch requiring more plates/bolts. 
Important I feel is that, with heavier material and double width tangs (4" double vs 2" single) the 1/2 thick material vs 3/8's as well as 8 bolts rather than 6, that the plates should last at least a 1/2 century probably more! This method makes Chain Plates totally trustworthy for many, many decades.

Hope this helps anyone engaged in their chain plate project.


Monday, August 20, 2012

Chain Plates, Going External in 2000

Originally written and posted on 12 June 2012
-----------------------------------------------------------------------------------------

I have written much about this project and had kept it on the CSYsailboats blog I write so others with CSY's or interested in them can see what i did to update the original design to my solutions for strength and safety.

Here's a link to that
http://csysailboats.blogspot.com/search/label/Chain%20Plates

There are about a dozen CSY's now that have gone to this 10" diameter design which was designed and built to fit 'above' the original CSY rub rail.


Note:  A few owners have not used the 10" diameter I had designed but went to a smaller 8" diameter to save material cost. Some have also...not used countersinking and flat socket head bolts but rather used hex head bolts. I specified countersinking for my plates for a specific reason.  It was so that sealant would protect the shaft of the bolt.
*** Photos below show what happens to a hex head bolt on a chain plate...over time.***
                                     CLICK ON ANY PHOTO FOR ENLARGED VIEW

Water eventually gets under the HEAD of the bolt and crevis corrosion eats away the steel.   Shown here, under the hex head bolts used on the forward strap used for the head stay, that the original bolts snap off from crevice corrosion.


                  Beginning the process of removing the OEM internal plate/5 bolts through the toe rail.
New plate attached with 'Only' center bolt.  This makes it easy to then attach the original stay and turnbuckle to the new plate, then slightly tighten the adjustment to get the perfect angle on the plate in this slightly 'loaded' position.  Get this 'plate to stay' alignment before drilling any other bolt holes.
                          3 Plates aligned and tensioned. New Awlgrip paint job in progress.

A friend, Rick Heim of Gulf Coast Industrial Machine, a local fabulous fabricator, made many sets of these plates for CSY owners, but he is now retired.  Another machinist Larry Fordice, father in law of CSY owner Warren and Kathy Daniels, is possibly ready to make some using water jet technology-a great cost cutting method.


Here is the design I sent him first in regular size then supersized/but the edge is missing. sorry but this is the best I can come up with.