Refinishing Teak and Holly Sole
Last week we began to refinish the sole(floors) of our vessel.
The project has progressed well although slowed somewhat for procurement of a quality varnish for the second half of the project. I did not anticipate difficulty in acquiring this in our marine environment-cervesa (beer) is available everywhere-I foolishly thought varnish would be as well! Varnish IS available, b ut you have to search it out.
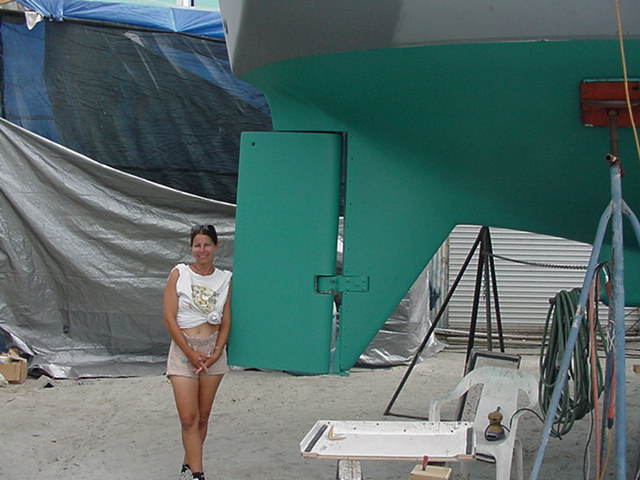
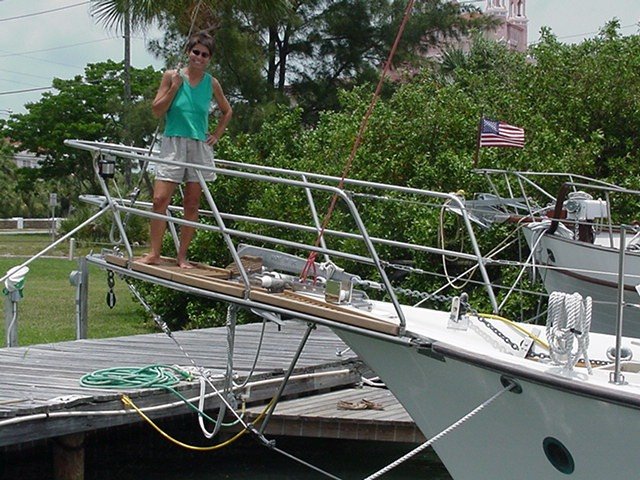
FORGET this smiling face. I only smiled because Dorothy said to! I was sweating like a pig, as the saying goes!
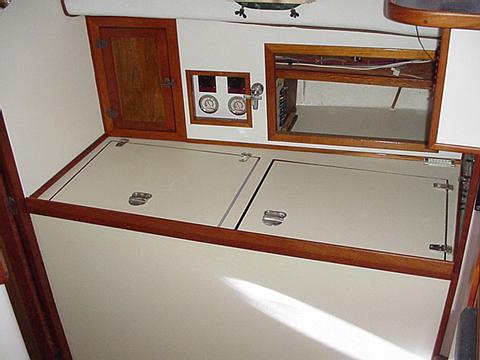
Years ago, we had gained access to areas below the sole by cutting openings with a saber saw and short(3/4") blade. (shown here already stripped)
There is loads of storage space available below 'some' of our soles. When rewiring and re-plumbing over the years, I would open the required section for better access-then epoxy and screw wood cleats in below to support the panel, giving future access and storage. I'm not sure if this space is available on any other CSY models, but it was on our pilothouse version. Be careful if this idea looks good to you. Think and measure several times- before cutting into the sole, serious stuff 'might' be below; no jewels from Aunt Nellie, no gold, etc., just the possibility of wires and plumbing, tankage or some support beam if you screw up. :( As shown, the project began in the fore cabin.
Before: cutting into the damaged wood. Done with a razor knife and other 'small tools' prior to to laminating in New Wood stripped from other areas not so " visible", or scrap pieces.
At the outset, KNOW just how much material you have to work with. Look at an edge of a scrap of wood. This, will tell you tons!
Teak and Holly 4' x 8' covered plywood sheets used for boat building in the 70's and earlier, had a decent amount of the "upper layer", the Good Stuff; Teak an d Holly. The suppliers of today don't even use Holly for the light wood strips! They use cheap crap. Holly is too expensive cause there are few trees left standing. Thank the Orient..think it's something like Rhino horn or shark fins.......
Holly is gone, except on our beautiful older boats.
After: SAME SPOT AS ABOVE!!! I sure hope you can see the difference!
Teak and Holly might be paper thin on any boats, from earlier sanding jobs or on boats built from the 80's, on to today. I easily sanded through a layer years ago on a 1980 Morgan. )The sheets made today have an incredibly thin layer. Pretty to look at but scary if you need to do some sanding on them as the surface layer is so thin. As shown in one ph oto here, it seems CSY owners benefit from a
 goodly amount of sandable material.
We started the heat stripping process by first removing One of these floor hatches at a time- then stripping it with a heat gun outside the boat.
Mind you this is being done down in Guatemala, temps at 93 degrees today and almost no wind..and I am working under a minimal tarp on the foredeck. Yup, it's hot.
Suggest you set yourself set up comfortably. I chose a seat, then a small table to act as a workbench. Home Depot plastic clamps held the smaller panels on the table. I then heated and drew the scraper towards me.
Heat Guns can be bought in the states for $10..... or $200
My choice was a $25 model which came with a full kit of scrappers, online at Northern Tool Company. Basic model for $15, had 2 heat output levels. We will see if the tool lives through this project.
Normally I buy VERY good tools, but this is one I will not need again for a long time, so I went for price. Yes, it's Chinese.
To lessen the chance of damaging the top layer of plywood, it helps to 'draw' your blade or scrapper from good solid wood, away from an edge, as shown here.
Later, when totally done drawing your scraper towards you, turn the board around and then draw once again, from the clean area of the board towards you and-- Off the edge. You will not splinter the edge this way. (Same as Painting, tip off the edge not onto it.)
Learning to use a heat gun is a constant lesson. Technique
is developed all during your project. If I heated the surface to start to produce bubbles as photo shows, then the varnish became gummy and clogged the scraper however, if I heated up 4-6 sq. " at a time, until only the first bubbles start to show, then I can strip off a good bit of varnish in one swipe-- then another and another.
You will get better as you go along, but try changing your approach to this as I am sure the chemistry of the material has everything to do with the simplicity or difficulty of it's removal.
Starting out, I was careful with my new heat gun and set up yet quickly went from low to high heat settings on the gun. I estimate the stripping with heat then using a Dewalt disc/orbital sander progressed at a rate of about 30 minutes/square foot.
Note: I am not familiar with Polyurethane or Acrylic Urethane varnishes. I had avoided them in the past because of yellowing and difficulty to remove if the material needed to be 'wooded' (removed down to bare wood). As this is an interior project AND I sure hope the Chemistry of Urethane's have improved, I am going to learn some new tricks here as we go through this.
Dings like this can be cleaned out with the corner of a scraper or knife. This will remove the dark color of old varnish. You will still have a ding, but it will not be as noticeable. BEYOND THIS: I drilled out a few of these 'Big Guys' and inserted a bung. After the job is done, a bung looks far better and less noticeable than a ding, as it looks "Intended" and "Does not reflect light/create a shadow.
I used to sand with 150 grit before varnishing, to give it enough 'tooth' to grab the wood physically beyond the sealer or 1st coats sinking in deeper due to being thinner viscosity. However, it seems makers of the urethane products suggest More Tooth, so we are sanding with their suggested 80 grit.
Light scratches on the surface will almost disappear after the heat stripping. Sanding will take care of most of the rest, but deep dings, like one or two shown here are best left alone. Yes, you can steam out depressions to some degree using a bit of water on them after removing the varnish, then with heat; using a steam iron over a piece of cloth to expand the wood grain.
I thought I was going to go to that extent, but, heck; a few scars give character, "Hey Matey?" No, Ron's not getting 'lazy' he's getting comfortable :) You can also just drill out the dent with the PROPER/special, drill bit and install a bung.
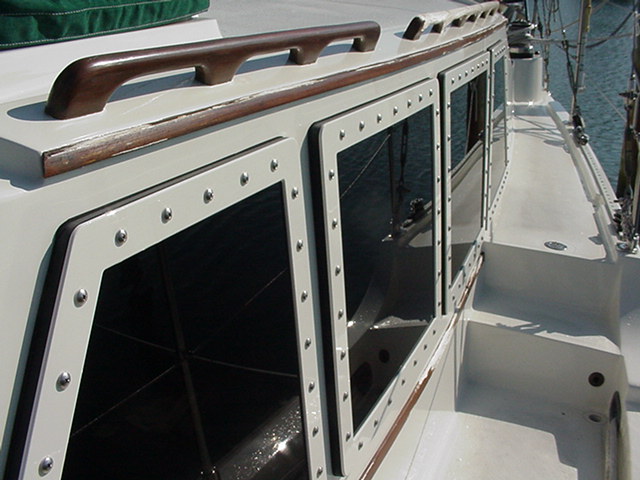
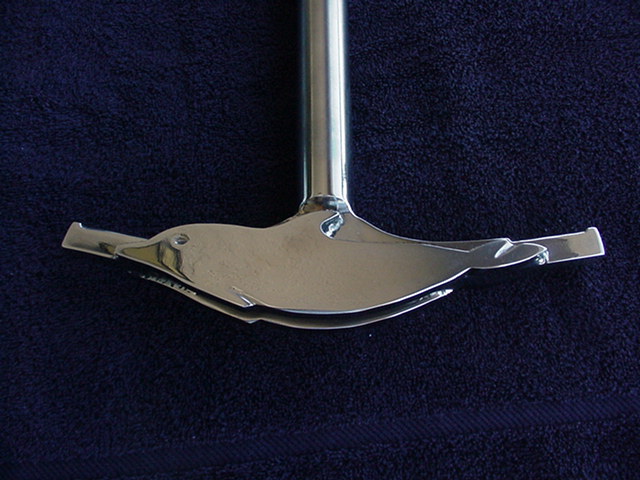
Hand Holds: Decided to add hand holds to the aft set of our interior steps to help this old fart get up off his knees in the future!
Dark color in the ends of grain is usually old varnish. If you're looking for a super job/and we are/you will want to remove the darkness at the end of the cells. Do it by heat gun or sanding to do a nice job; you will know when to change tools. This old varnis h material has already been heated in your first process and so loosened. It has been sitting there for 3 decades getting darker........take the time to remove the last of it. You will be amazed at the difference the extra input will give you!
When we started this project, I only had tools aboard, no varnish. Since you cannot bring flammable material aboard flights I just hoped that we could find a good product here. Not sure yet about that...
The Polyurethanes seem to be the hardest and best, especially if you can get the 2 part products. Also, if the products have UV protectors in them, you are better off, as light will affect them far less. Interior Clear urethanes often have a yellowing problem with them, due to the lack of special additives to filter out U.V. I had read that the chemicals used for U.V. filtering cost approximately $8. per gallon extra so is sometimes not in a product to be cost competitive. It will be in the better products if it says, '"No Yellowing".
Arnulfo applying the 10th bach-braking nightmare of doing the steps! He's a good guy!
Acrylic Urethanes seem to One Step Down from Polyurethane and every varnish down from there is just softer and not up to the abrasion of a surface to be walked on. Remember too, that there are urethanes meant for tables, chairs, yet Not for the durability required for floors.
Arnulfo Juarez is half of the team. Young, talented and willing to work. He gets all the contortionist work in the heat of the boat, I take the panels outside, sit in a chair in the shade. Well, age has some rights..........
OK, having said all that; we just returned from Puerto Barrios, Guatemala on our quest for good varnish. There were about 6 brands and some of the write ups sounded good. I chose Superior Polyurethane by Dupont's DuWest Company, a joint venture between the US's Dupont and a Mexican firm called West.
They had 3 levels of varnish;1.varnish 2. super-marine varnish 3. Superior Polyurethane Varnish. #2, Super-Marine had UV filters, dried fast and was thicker/good for vertical surfaces inside and out. #3 Super Polyurethane also had the UV filters but was thinner (for better self-leveling) and dried slower(OK on a horizontal surface) and also dried to a harder more durable finish. Sounds like what I was looking for!
OK. We are really into this project now, stripping, sanding, repairing dings, gosh, even going for INLAYS on a couple of spots!! Yup, we are waist deep in gators at the moment, but wow things are looking GOOD!
After stripping off the Old varnish, the condition of the wood underneath showed some pretty nasty looking Holly Strips right at the Galley sink. When I bought the boat, the wood there was wet and rotted directly under the sink as a water leak from one of the plumbing fittings for the faucets was apparently leaking for quite some time. Now this is where maintanance would have been nice, but the past owner did not maintain this boat. I stopped the leak in the first week of ownership in 1991, but the damage was done.
In the corner of the sole between the stove and sink, one strip of Holly was in very poor condition and so was part of the next strip of Holly. Under old varnish it appeared dark, when stripped it is not so apparent but looks dirty or greyed out.
I decided now, to try to remove the Holly strips that were grey and degraded and replace them with an inlay of Holly I will take from another piec
 e of sole under a seat locker.
From a section of saloon sole, now covered by an L-shaped Settee modification I did 2 years ago, I now had available a piece of teak that matched the rest of the wood in the boat. Although from another sheet of Plywood used to build my boat, it is probably a very close match in all respects including color of Teak and Holly so this should be a near perfect match.
I took the 2' x 2' piece of teak and holly sole material up into the shade along with my tools. Set up a guide so that with my 24Volt Circular Saw, I can carefully remove strips of Holley. I cut down to a depth of 4 plys, knowing I needed 3 for some and 2 or 1 for others, I could then split th e plies to the desired depth. Final sanding on the underside of the Holly strips and also on each side until a perfect fit was found. Butt Joints were the toughest to make as well as matching the color of the Holly. I did the best I could, winning a few and then again, not winning some, but overall a big improvement.
As you can see in this corner of the galley between the stove and sink area, water had run back and into the end grain of the Holly, turning it grey and rotting it. The Teak always faired better because Teak has natural oils that protect it from rot.
DURING THE PROCESS!
Getting out the bad, and prepping for the new!
I'm including a before and after shot on this as well as one while I was using a razor knife, a small standard screwdriver to act as a chisel, and a hammer to remove poor material.
AFTER THE PROCESS!
The after shot is with only 2 coats of varnish on it, but thought it would let you see the improvement without waiting till we finish this job.
It still seems that overall, the job of stripping and varnishing is taking about 30 minutes per square foot. Add days for additional things like inlays, additional repairs, bungs etc. if that is needed. The varnishing,
sanding/vacuuming/tack ragging final dust and other last minute prep can be done in about One coat/day on a 44 if (IF) you are well set up. Then there is clean up time, untaping, reorganizing.
Keep smiling, we are. The job is not done and we are off to the states again for a month or so. Will finish the job upon returning but this is enough for any of you interested, to know how to go about it and about how long to expect it to take.
By the way; this PolyUrethane varnish we are using is great to work with, flows well, good work time, very little odor and has a beautiful color....very satisfied.
A nearly perfect inlay even with a butt joint in the long strip of Holly.
Yup! some of the inlays were not perfect, but would not be noticed without a sharp eye or having them pointed out to you.
2-4 coats only, but we will stop here till we return to Guatemala.


6 comments:
Very nice - I am inspired - you did not say what you are revarnishing with ???? Is the picture of the sole by the mast a totally finished sole or just the storage covers and the rest of the sole is yet to be strpped and re-varnished so it will all be of a uniform color???
Bill Church
stuck at the dock in St. Pete aboard s/v Geodesic2
Hello Bill, I had hoped to be able to buy GOOD varnish down here in Guatemala...as you cannot bring it on a plane due to the VOC's of the product. Seems supply is poor and only one company has a Polyurethane Varnish(hard/durable) but it's interior and has no UV chemicals in it. The clear Poly Varnishes have had problems in the past with Yellowing. This is due to light or blocked light, like under a rug, turning differently than the rest of the surface.
I am going down to Pueto Barios on the coast Monday to search out supply of Sherwin Williams Wood Classic, or some other product that might be sold here in the international market. US and International material sometimes vary. Preferrably, I would like to find a 2 part Polyurethane with UV additives. Interlux makes one, called Perfection Varnish, but again, it does not seem to be available here. I'm told I can get it shipped here if I can wait 6 weeks..Sigh. Might have to do that if I can't find another great product here. For me this is a one time/last time project. I can later add a coat if it is ever necessary, but do not want to go through the stripping process again.
As to your question on which is which in photos, the light colored wood(as in the 5 panels forward) have been stripped and sanded. The surrounding darker wood is yet to be stripped. As of today, it's all stripped.
Hey Ron,
Thx for the reply - I should have known no good supply of ,stuff, down there - we really do have it good here - again - nice job - I am still inspired although in 40's here overnight - no varnishing under 60 !!! More pix later?
Ya Bill, more pix and text coming up!
Ron, glad to hear you are working on something useful (and posting it for the rest of us)! Hugs to Dorothy and say hi to Arnulfo for us. Dave and Sherry
Hi Sherry, As you know, a boat is always in need of 'something', but our to-do list is smaller than before.
Arnulfo smiled widely when he heard you said hi. He's very proud of his photo on your site and ours!
Post a Comment